There is a distinct moment of dread that every homeowner fears: watching a delivery crew carry a magnificent new sofa up to the front entrance, only to realize it is three inches too wide to pass through the doorframe. Furniture sizing and spatial measuring are the unsung heroes of interior design. No matter how exquisite a dining table or sectional looks online, its true value depends entirely on how harmoniously it fits into your home’s physical architecture.
At Homes & Kitchens, our philosophy is built on Knowledge Before Products, Trust Before Commission, and Research Before Opinion. We believe that mastering the art of precise home measurement saves you from expensive delivery restocking fees, structural damage, and daily spatial frustration.
Whether you are settling into a first home, reconfiguring a family room, or optimizing an apartment layout, this comprehensive guide will walk you through every step of measuring your space, navigating architectural bottlenecks, and planning foolproof furniture layouts.
The Essential Toolkit for Precision Home Measuring
Before you start recording numbers, you need the right tools. Eyeballing room dimensions or using a flexible cloth sewing tape will inevitably lead to costly errors.
[Steel Tape Measure] ──> [Blue Painter's Tape] ──> [Graph Paper & Notepad] ──> [Digital Level]
- Steel Tape Measure: Invest in a rigid, locking 25-foot steel tape measure. A flexible cloth tape stretches and sags over long spans, throwing off your calculations.
- Blue Painter’s Tape: Essential for mapping physical furniture footprints directly onto your hardwood or carpeted floors to visualize actual scale.
- Notepad and Graph Paper: Create a scaled drawing of your room, noting every window, electrical outlet, and heating vent.
- A Second Pair of Hands: Trying to hold a steel tape measure across a 15-foot living room alone often results in slipping tape and inaccurate logs.
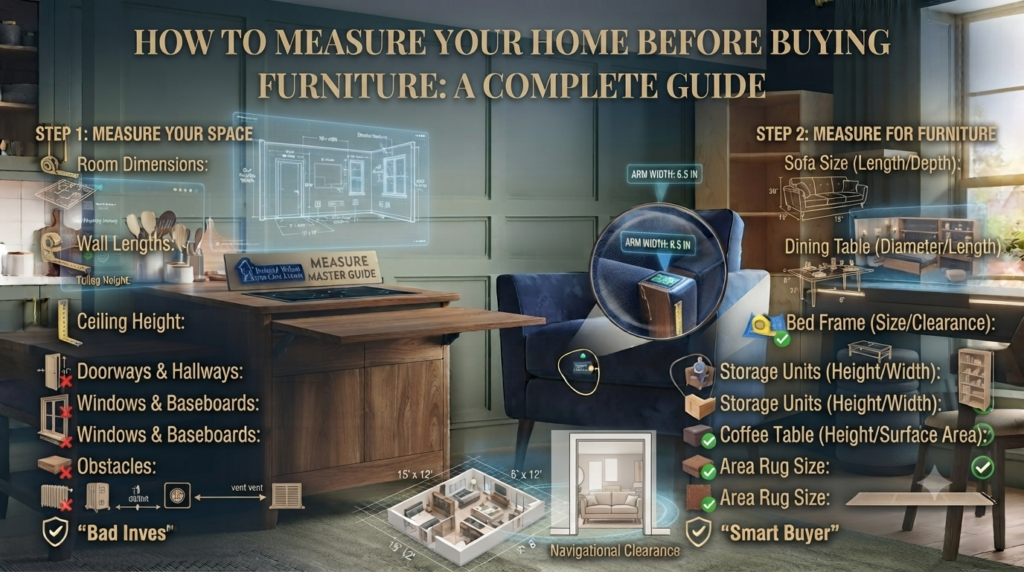
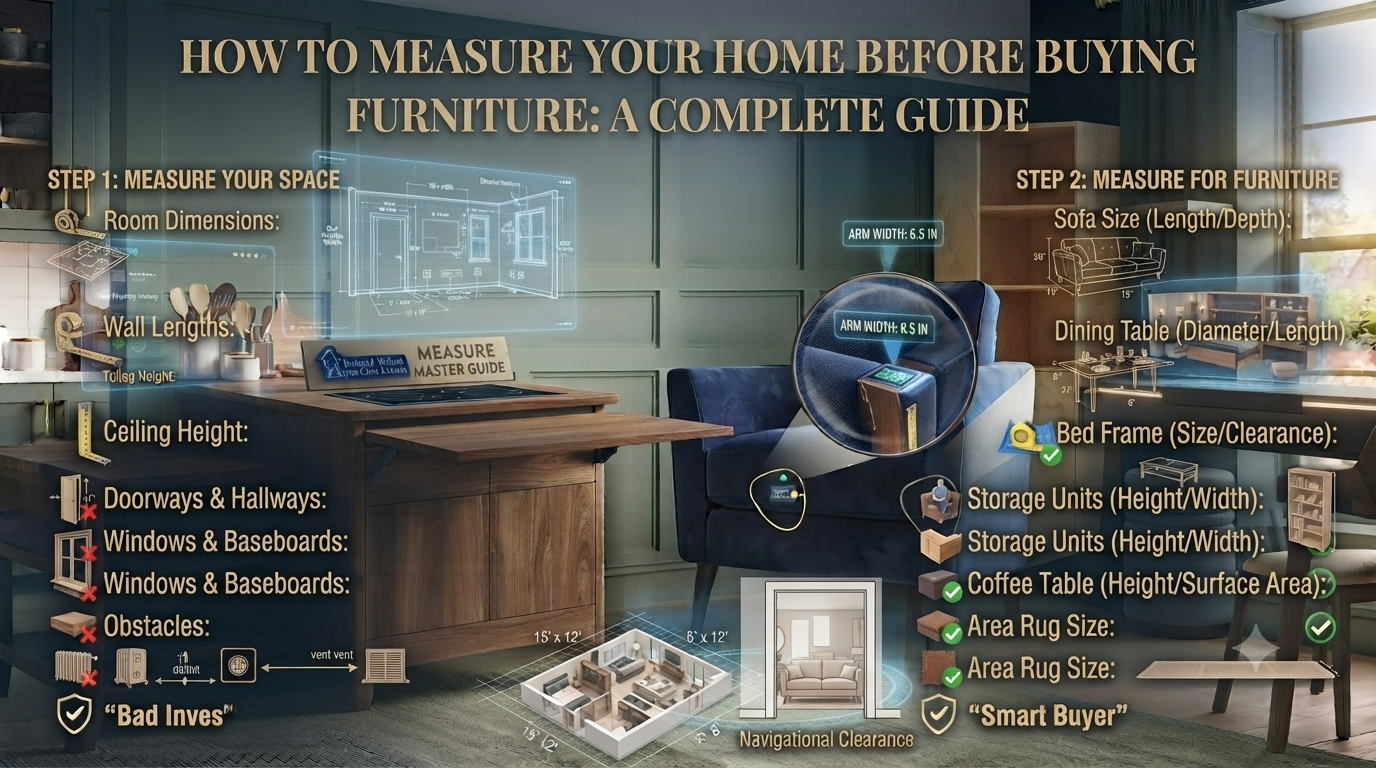
Step 1: Mapping Room Dimensions and Structural Obstacles
Before evaluating individual furniture pieces, you must document the permanent architectural boundaries of your room.
[Wall-to-Wall Length] ──> [Door & Window Swings] ──> [Fixed Utilities & Outlets] ──> [Ceiling Height Checks]
- Measure Wall-to-Wall Length and Width: Measure along the baseboards rather than mid-wall, as baseboards and moldings reduce usable floor space. Take measurements at floor level, mid-height, and ceiling height to check for bowed walls.
- Account for Architectural Obstacles: Note the exact placement and protrusion depth of radiators, baseboard heaters, electrical outlets, cable jacks, and light switches. A sofa pushed against a wall shouldn’t crush an active heating vent or block an outlet.
- Document Windows and Sill Heights: Measure from the floor to the bottom of the window sill. If you plan to place a desk or low-back sofa beneath a window, ensure the sill sits high enough to clear the furniture backrest.
Step 2: Navigating the Delivery Pathway (The Bottlenecks)
Many furniture pieces fail not because they don’t fit in the destination room, but because they cannot navigate the journey getting there.
- Exterior and Interior Doorways: Measure the width and height of every exterior and interior door frame along the delivery path. Remember to measure from inside the door stops, not the outer frame edges. If necessary, removing the door from its hinges can buy you an extra 1.5 to 2 inches of clearance.
- Stairwells and Landings: If your furniture needs to go upstairs, measure the stairwell width, ceiling height above the stairs, and the dimensions of any intermediate landings. Check whether low-hanging light fixtures or handrails obstruct bulky boxes.
- Elevators and Hallways: For apartment dwellers, measure elevator door heights, interior cabin depth, and narrow hallway turning radiuses. For related spatial layout strategies, review our guide on Furniture Arrangement Ideas.
Step 3: Room-by-Room Measurement Frameworks
Different rooms present unique measuring challenges that dictate what furniture sizes will succeed.
1. The Living Room: Seating and Traffic Corridors
- The Focal Point Distance: Measure the distance between your primary seating area and the media wall or fireplace. For comfortable viewing, ensure you maintain a viewing distance of at least 7 to 10 feet for large-screen televisions.
- Traffic Pathways: Leave a minimum of 30 to 36 inches of clear walking space around major pathways, and 14 to 18 inches between coffee tables and sofa edges.
2. The Bedroom: Bed Frames and Dresser Swings
- Mattress and Frame Clearance: Measure your bedroom width and length, factoring in the mattress size (Queen: 60×80 inches; King: 76×80 inches). Ensure you leave at least 24 inches of clearance on both sides of the bed for nightstands and walking paths.
- Dresser Drawer Swings: Measure the depth of your dresser plus the length of its open drawers. If a dresser drawer measures 20 inches deep, you need at least 36 inches of clear floor space in front of it to pull the drawer open completely without striking a bed or wall.
3. The Dining Room: Table and Chair Clearances
- Table Sizing: Allow at least 24 inches of table edge space per diner for comfortable elbow room during meals.
- Chair Pull-Out Clearance: Ensure there is a minimum of 36 to 48 inches of clear space between your dining table edge and surrounding walls or sideboards so guests can slide chairs backward and stand up effortlessly. For kitchen-specific layout considerations, explore our Kitchen Remodel Cost Guide.
Comprehensive Home Measurement Reference Matrix
| Room / Zone | Key Measurement Target | Minimum Required Clearance | Common Measuring Pitfall |
| Living Room | Sofa to Media Wall | 7–10 feet viewing distance | Forgetting to account for bulky back cushions |
| Living Room | Coffee Table to Sofa | 14–18 inches leg clearance | Placing table too close for comfortable leg stretch |
| Hallway / Doors | Doorway Width & Height | Frame width + 2 inches spare | Measuring outer molding instead of inner door stops |
| Bedroom | Bedside Walking Paths | 24–30 inches on both sides | Blocking closet doors or heating vents with nightstands |
| Dining Room | Table to Surrounding Wall | 36–48 inches for chair pull-out | Ignoring light fixture centering above table center |
Step 4: The Painter’s Tape Footprint Simulation
Once you have recorded your room dimensions and furniture specifications, it is time to test the layout physically before spending money.
- Tape Out the Footprint: Take your blue painter’s tape and mark the exact length and width of the prospective sofa, bed, or dining table directly on your floor.
- Walk the Perimeter: Live with the taped footprint for 48 hours. Walk past it carrying laundry baskets, vacuum cleaners, and groceries. If you find yourself stubbing your toe or squeezing past the taped border, the furniture piece is too large for the space.
- Check Vertical Scale: Cut a piece of cardboard or hold a measuring stick vertically to visualize the height of the piece, ensuring it doesn’t block light switches, thermostat panels, or window views.
Common Measuring Mistakes to Avoid
Even careful homeowners fall victim to recurring measurement errors. Avoid these missteps:
- Mistake 1: Measuring only the floor footprint and ignoring diagonal dimensions.
- Correction: Large sofas and box springs often need to be tilted diagonally to clear tight doorways. Always measure the diagonal depth of the furniture piece and compare it to your door frame height.
- Mistake 2: Forgetting to account for baseboards and wall moldings.
- Correction: Baseboards protrude half an inch to an inch from the drywall. Across a 12-foot room, failing to measure between baseboards can leave you short on tight built-in installations.
- Mistake 3: Measuring with boxes or cushions uncompressed.
- Correction: Upholstered furniture compresses slightly when squeezed, but rigid wooden frames and sofa arms do not. Always measure the absolute rigid frame dimensions, not soft cushion overhangs.
- Mistake 4: Relying on floor plans provided by builders or real estate agents.
- Correction: Real estate floor plans are often “artist renderings” that can vary by several inches. Always perform your own physical measurements with a steel tape measure.
Maintenance and Spatial Adaptation Advice
Home layouts and furniture arrangements are dynamic; keeping accurate records of your home’s dimensions simplifies future upgrades.
- Keep a Home Dimension Ledger: Store a digital or physical document containing your room sizes, doorway clearances, and ceiling heights in a home management binder. When shopping for future rugs, curtains, or bookcases, you will have instant access to your architectural specs.
- Re-measure During Renovations: If you replace flooring, install thick carpets, or add wall paneling, re-measure your room dimensions, as flooring thickness and trim updates can subtly alter clearance tolerances.
Frequently Asked Questions
How do you measure a room for furniture placement?
Use a rigid steel tape measure to record wall-to-wall lengths, door swings, window sill heights, and fixed utility placements along the baseboards, then map them onto graph paper.
What clearances do you need for doorways when buying furniture?
Measure the narrowest point of your entry path (door width, interior hallways, and stairwell turns). Ensure your furniture’s diagonal depth is smaller than your door frame’s clear opening height.
How do you map out a floor plan before buying a sofa?
Use blue painter’s tape to outline the exact length and width of the sofa on your floor, and live with the footprint for a couple of days to test walking pathways.
Why is measuring room height important for furniture?
Ceiling height dictates whether tall bookcases, canopy beds, or vertical storage cabinets will fit comfortably without looking disproportionate or striking ceiling fans and moldings.
How do you calculate diagonal depth for sofa delivery?
Tilt the sofa on its side and measure from the back top corner to the front bottom foot. If this diagonal measurement exceeds your doorway height, the sofa will not fit through upright.
Should I measure wall-to-wall at the floor or ceiling?
Measure at both floor level and mid-wall height, as older homes often feature settling walls that bow outward or inward, altering usable space.
How much space should be left between a bed and a wall?
Leave at least 24 to 30 inches of clear walking space on both sides of a bed to ensure comfortable movement and easy bed-making.
What is the best tape measure for home furniture shopping?
A rigid, locking 25-foot steel tape measure is ideal because it extends across long rooms without bending or sagging.
How do I measure an irregular or open-concept room?
Break the open space down into smaller rectangular zones, measure each zone separately, and combine them on your floor plan layout.
Do online furniture retailers provide accurate dimensions?
Most reputable retailers provide precise specification drawings, but you should always verify whether dimensions include protruding legs, back cushions, or hardware.
How do I measure for a dining table with leaves inserted?
Measure your room dimensions based on the fully extended table length with all leaves inserted, not just the baseline compact size.
What should I do if a furniture piece is too tight for a doorway?
Check if the furniture legs can be unscrewed, remove interior doors from their hinges, or consult professional delivery services regarding hoisting options.
How do I account for electrical outlets when measuring?
Mark the exact height and location of electrical outlets on your floor plan to ensure large heavy bookcases or entertainment centers won’t block access to power sources.
Can carpet thickness affect furniture measurements?
Yes. Thick plush carpeting and under-pad layers can raise floor levels slightly and make sliding heavy drawers or doors difficult if clearance tolerances are too tight.
How often should I update my home measurement ledger?
Update your measurements whenever you undergo home remodeling, replace flooring, or alter interior wall partitions.
Conclusion and Final Verdict
Mastering how to measure your home before buying furniture is the ultimate safeguard against costly delivery mistakes and spatial regret. By investing in a rigid steel tape measure, mapping architectural bottlenecks, respecting traffic clearances, and simulating layouts with painter’s tape, you transform the furniture-buying process from a guessing game into an exact science. Taking thirty minutes to measure accurately ensures that every piece you purchase will integrate seamlessly into your home.
Key Takeaways
- Equip yourself properly: Always use a rigid steel tape measure and blue painter’s tape for physical footprint simulations.
- Measure the entire delivery path: Check exterior doors, stairwell turns, and elevator clearances—not just the destination room.
- Respect traffic corridors: Maintain 30 to 36 inches of clear walking space along primary pathways.
- Test before you buy: Outline furniture dimensions on your floor and live with the footprint for 48 hours to guarantee functional flow.
Ready to upgrade your home with total confidence? Grab your steel tape measure this weekend, map out your upcoming room layouts, and ensure every furniture investment fits your living space to perfection.