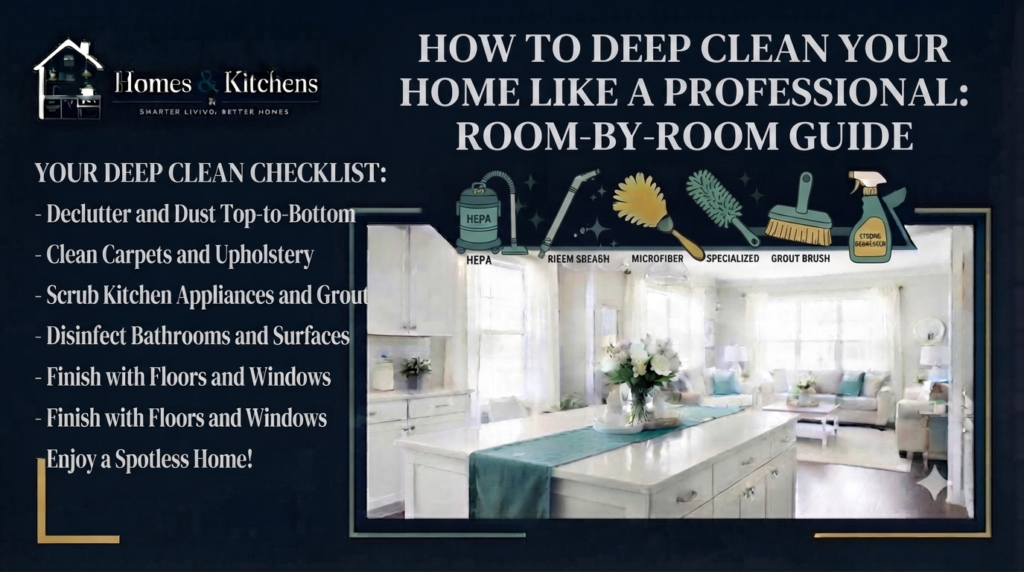
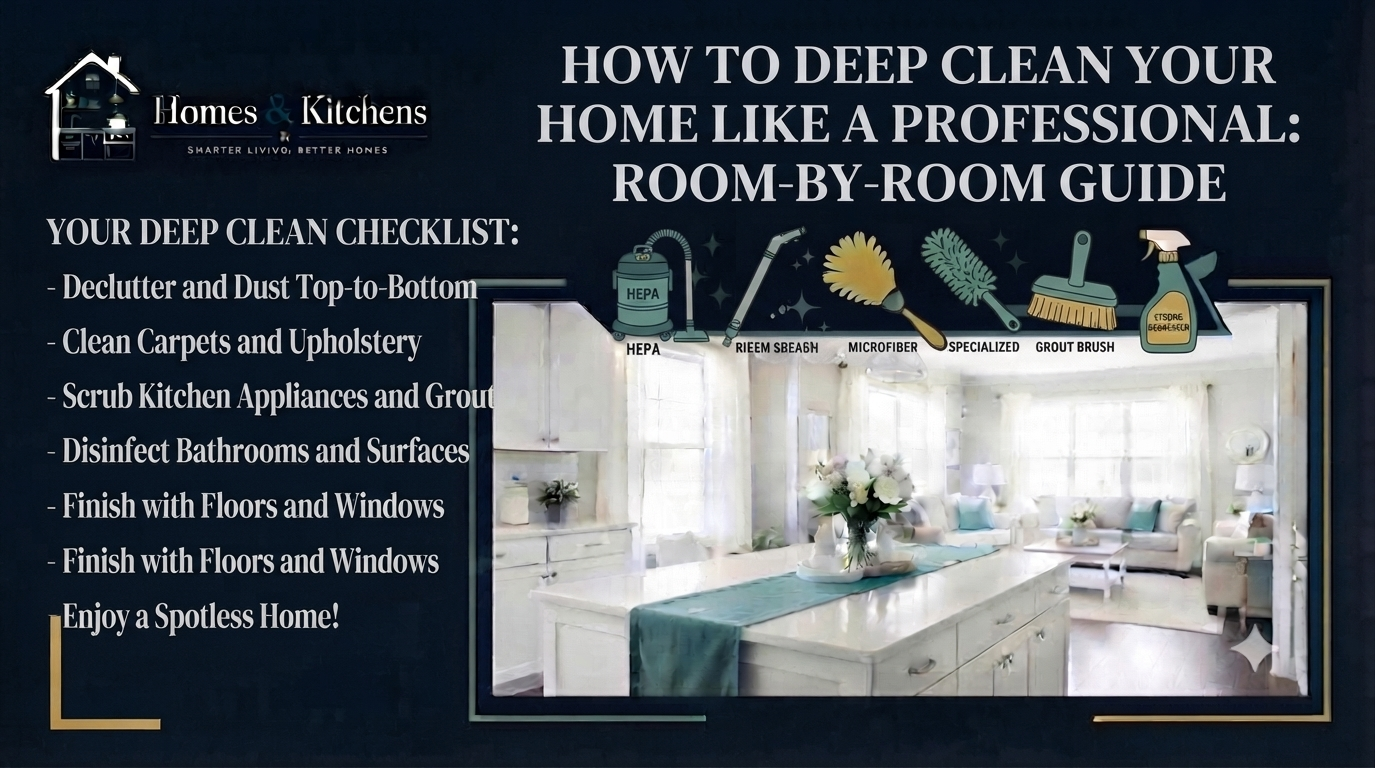
Every homeowner recognizes the distinct tipping point when regular weekly upkeep—surface wiping, quick vacuuming, and trash removal—no longer suffices. Grime accumulates silently behind faucets, grease bakes onto oven interiors, dust settles deep within upholstered fibers, and hard water minerals cloud shower enclosures. Tackling these neglected zones requires more than random weekend scrubbing; it demands a professional framework.
At Homes & Kitchens, our philosophy is rooted in Knowledge Before Products, Trust Before Commission, and Research Before Opinion. We do not believe in promoting frantic, exhausting cleaning marathons or unnecessary chemical purchases. Instead, we approach deep cleaning through the lens of industrial workflow engineering, surface chemistry, and ergonomic efficiency.
Whether you are preparing your home for a seasonal shift, welcoming a newborn, or simply restoring order after a busy year, this comprehensive room-by-room guide breaks down professional deep cleaning. We will explore the exact sequencing, specialized equipment, and chemical dwell times needed to transform your living space with minimal wasted effort.
Part 1: The Professional Mindset — Workflow & Sequencing
Professional cleaners rarely clean a single room in isolation from start to finish. Doing so is an inefficient use of time and energy. Instead, professionals operate on a macro-level methodology based on two core rules: Top-to-Bottom and Dry-to-Wet.
[Ceiling Fans & High Ledges] → [Mid-Level Surfaces & Furniture] → [Floors: Vacuuming & Mopping]
1. The Top-to-Bottom Principle
Gravity is an unyielding force in housekeeping. If you vacuum and mop your floors first, then dust your ceiling fans and crown molding afterward, falling particulate matter immediately coats your pristine floors. Professionals always start at the highest structural elevation in a home—vaulted ceilings, high vents, light fixtures, and upper shelving—and work their way progressively down to baseboards and flooring.
2. The Dry-to-Wet Principle
Always execute dry cleaning tasks before introducing moisture. Dusting, sweeping, and dry-vacuuming loose debris must precede wiping surfaces with liquid sprays. If you apply a wet sponge or spray to dusty surfaces, you create a muddy sludge that binds tightly to wood and painted drywall, making cleanup exponentially harder.
Part 2: Essential Deep Cleaning Arsenal & Equipment
To execute a professional-grade deep cleaning, standard consumer rags and generic sprays will fall short. Equipping yourself with the right tools ensures maximum extraction with minimal physical strain.
1. Best Overall Cleaning Arsenal: Color-Coded Microfiber System
- Why We Chose It: Split-fiber microfiber cloths trap microscopic dust and bacteria mechanically, reducing chemical dependence. Color coding (e.g., blue for glass, green for kitchen, red for bathrooms) prevents cross-contamination.
- Best For: All-surface dusting, wiping, and streak-free glass care.
2. Best Premium Deep Cleaning Tool: Commercial-Grade Vapor Steam Cleaner
- Why We Chose It: High-pressure steam melts grease, sanitizes tile grout, and neutralizes dust mites without chemical residues.
- Best For: Grout restoration, oven interiors, upholstered furniture, and bathroom tile sanitization.
3. Best Heavy-Duty Extraction Tool: Sealed HEPA Upright Vacuum with Attachments
- Why We Chose It: Captures 99.97% of particulate matter down to 0.3 microns, preventing fine allergens from recirculating into indoor air during deep floor care.
- Best For: Carpets, upholstered sofas, mattress deep cleaning, and perimeter baseboards.
Part 3: Room-by-Room Deep Cleaning Master Checklist
Execute your deep clean systematically by moving through your home one designated zone at a time.
1. The Kitchen: The Culinary Core
Kitchens accumulate heavy grease, food proteins, and microbial buildup around food preparation zones.
- Ceilings & Light Fixtures: Wipe down pendant lights, ceiling fan blades, and grease-attracting upper cabinet tops using a degreasing microfiber cloth.
- Cabinet Interiors & Exteriors: Empty pantry shelves and cabinet interiors completely. Vacuum crumbs, wipe surfaces with warm soapy water, and dry thoroughly before restocking. Clean exterior cabinet doors to remove fingerprint oils.
- Appliances Deep Dive:
- Oven: Run the self-cleaning cycle or apply a heavy-duty paste cleaner, allowing adequate dwell time before scraping away baked-on carbon.
- Refrigerator: Pull the unit away from the wall to vacuum condenser coils. Discard expired condiments, remove glass shelves, and wash them in warm water.
- Dishwasher: Run a sanitizing cycle with a specialized cleaner or white vinegar to clear mineral scale and food debris from the filter and spray arms.
- Countertops & Sinks: Sanitize countertops and polish stainless steel sinks. For further insights, consult our guides on Countertop Materials and Kitchen Cabinets Guide.
2. The Bathroom: Sanitization & Scale Removal
Bathrooms present unique moisture challenges, requiring a combination of scale removal and mold mitigation.
- Ventilation & Lighting: Clean bathroom exhaust fan covers, which frequently accumulate dust and lint that restrict airflow and increase humidity.
- Tile & Grout Restoration: Apply a mildew-fighting cleaner or oxygen bleach paste to shower tiles. Let it sit for its required dwell time, scrub with a stiff-bristle brush, and rinse thoroughly.
- Fixture Descaling: Wrap faucet spouts and showerheads in a cloth soaked in white vinegar overnight to dissolve hard water mineral scale.
- Toilets & Vanities: Scrub the toilet bowl, tank exterior, and hinges. Wipe down vanity drawers and sanitize sink drains.
3. Living Areas and Bedrooms: Air Quality & Textile Care
Living spaces and bedrooms accumulate skin cells, pet dander, and textile fibers that degrade indoor air quality.
- Window Treatments & Hardware: Launder or steam-clean curtains, drapes, and fabric blinds. Dust curtain rods and wipe window sills.
- Upholstery & Mattress Sanitization: Vacuum sofa cushions, slipcovers, and mattress surfaces thoroughly using upholstery attachments. Sprinkle baking soda across mattresses, let sit for 30 minutes, and vacuum away to neutralize odors.
- Baseboards & Millwork: Wipe down baseboards, door frames, and interior doors with a damp microfiber cloth to remove scuff marks and accumulated dust.
Part 4: Comprehensive Deep Cleaning Equipment & Chemical Matrix
| Cleaning Task | Recommended Tool / Chemical | Dwell Time / Procedure | Key Safety Consideration |
| Oven Degreasing | Heavy-duty alkaline gel or steam | 30 to 60 minutes dwell time | Wear rubber gloves and protective eyewear |
| Grout Whitening | Oxygen bleach or hydrogen peroxide | 15 minutes before scrubbing | Ensure adequate room ventilation |
| Hard Water Descaling | Distilled white vinegar | 1 to 8 hours (soak method) | Avoid on natural stone (marble/travertine) |
| Upholstery Refresh | HEPA vacuum + baking soda | 30 minutes absorption time | Test fabric colorfastness in hidden area |
| High-Touch Disinfection | EPA-registered disinfectant | 3 to 10 minutes wet dwell time | Never mix bleach with ammonia or acids |
Part 5: Common Deep Cleaning Mistakes to Avoid
Even experienced DIYers fall into counterproductive habits during deep cleaning sessions. Avoid these common errors:
- Mistake 1: Rushing chemical dwell times.
- Correction: Spraying a cleaner and wiping it off instantly wastes its active ingredients. Allow disinfectants and degreasers time to break down chemical bonds.
- Mistake 2: Cleaning rooms in a disorganized, random order.
- Correction: Jumping between the kitchen, bathroom, and bedroom creates double work. Stick strictly to the top-to-bottom, room-by-room framework.
- Mistake 3: Ignoring the cleaning tools themselves.
- Correction: Storing a dirty vacuum filter, a slimy mop head, or a greasy sponge ensures you reintroduce contaminants during your next deep clean.
- Mistake 4: Overlooking high-touch invisible zones.
- Correction: Light switches, door handles, remote controls, and cabinet pulls harbor more bacteria than floors yet are frequently neglected.
Frequently Asked Questions
How often should you deep clean your entire house?
A thorough, professional-grade deep clean is generally recommended twice a year—ideally during spring and autumn seasonal transitions. Supplement these bi-annual sessions with consistent weekly maintenance.
What is the correct order to deep clean a room?
Always start at the top and move down: clean ceiling fans, light fixtures, and upper shelving first, move to mid-level furniture and counters, and finish with vacuuming and mopping the floors last.
How do professional cleaners tackle tough grease in a kitchen?
Professionals apply specialized alkaline degreasers or high-pressure vapor steam cleaners to break down polymerized grease bonds on stovetops and oven hoods, allowing the residue to be wiped away effortlessly.
Is white vinegar effective for deep cleaning bathrooms?
Yes. White vinegar is exceptionally effective at dissolving alkaline hard water scale, soap scum, and calcium deposits on faucets and glass shower doors. However, it is not a registered disinfectant for killing dangerous pathogens.
How do I deep clean my carpets without renting a bulky machine?
You can spot-clean stains using enzymatic cleaners and blot with clean white microfiber towels. For a whole-room refresh, sprinkle baking soda mixed with a few drops of essential oil, let it sit for an hour, and vacuum thoroughly with a HEPA vacuum.
What is dwell time and why does it matter?
Dwell time is the duration a cleaning chemical must remain visibly wet on a surface to effectively dissolve grease or kill targeted microorganisms. Wiping cleaners away too quickly renders them useless.
How can I deep clean my window blinds without damaging them?
Dust plastic or metal blinds with a microfiber mitt. For deep cleaning, wipe individual slats with a 50/50 mixture of warm water and white vinegar using an old sock worn on your hand.
How do I remove stubborn mold from bathroom tile grout?
Apply an oxygen bleach or hydrogen peroxide solution to the grout lines, let it sit for 15 to 20 minutes, scrub gently with a stiff nylon-bristle brush, and rinse thoroughly with clean water.
Why does my house still look dusty after a deep clean?
If your house is still dusty, you likely dusted from the bottom up (causing debris to fall onto clean floors), used a feather duster that aerosolized particulate matter, or ran a vacuum cleaner with a clogged HEPA filter.
How do I clean and sanitize my mattress during a deep clean?
Strip all bedding and launder in hot water. Vacuum the entire mattress surface thoroughly, apply an even layer of baking soda to neutralize trapped odors, let sit for 30 minutes, and vacuum it away completely.
Can I use the same microfiber cloth for every room?
No. Using the same cloth across different rooms leads to cross-contamination. Adopt a color-coded system to separate bathroom, kitchen, and living area cloths, and launder them in hot water after use.
What is the best way to deep clean stainless steel appliances?
Wipe stainless steel surfaces in the direction of the metal grain using a microfiber cloth dampened with warm water and a drop of dish soap, then buff dry with a separate dry cloth to prevent water spots.
How do I clean the hidden coils behind my refrigerator?
Unplug the refrigerator, pull it away from the wall, and use a specialized long-handled coil brush and your vacuum crevice attachment to extract years of accumulated pet hair and dust, improving energy efficiency.
What safety precautions should I take when deep cleaning?
Always wear rubber cleaning gloves, ensure rooms are well-ventilated by opening windows or running exhaust fans, wear eye protection when using overhead sprays, and never mix chemical cleaning products.
How do I deep clean my washing machine drum?
Run a hot water cycle with a dedicated washing machine cleaner tablet, or add two cups of white vinegar to the drum and one-half cup of baking soda to the detergent dispenser to eliminate mildew odors and detergent buildup.
Final Verdict & Key Takeaways
Mastering how to deep clean your home like a professional is not about achieving perfection through exhaustion; it is about applying structured workflows, respecting chemical dwell times, and using the right tools for the job.
Key Takeaways
- Follow the hierarchy: Always clean from top to bottom and dry to wet to prevent double work.
- Respect dwell times: Let cleaning solutions sit long enough to break down grease and sanitize surfaces.
- Maintain your tools: Wash microfiber cloths and vacuum filters after every deep cleaning session.
- Embrace consistency: Pair bi-annual deep cleans with manageable weekly maintenance routines to keep your home pristine year-round.
By implementing these professional strategies, you will save time, protect your home surfaces, and maintain a brilliantly clean, healthy living environment.
How to Deep Clean Every Room in Your House | The Spruce
Watch this professional walkthrough for additional expert strategies on organizing your whole-house deep cleaning workflow efficiently.